TTS Channel: OmniVoice-TTS
What is OmniVoice
OmniVoice is an advanced zero-shot multilingual TTS model with the following features:
- Extensive language support: 600+ languages
- High-quality speech: Natural, fluent output
- Voice cloning: Clone voices from reference audio
- Fast inference: Excellent inference speed
pyVideoTrans has supported OmniVoice since v3.98-0403.
OmniVoice open-source: https://github.com/k2-fsa/OmniVoice
Prerequisites
| Requirement | Details |
|---|---|
| pyVideoTrans version | ≥ v3.98-0403 |
| Operating System | Windows (package), Linux/macOS (source deployment) |
| Hardware | NVIDIA GPU recommended |
| Network | First launch downloads models from huggingface.co |
Windows Package (recommended for beginners)
Download
- Baidu Cloud download: https://pan.baidu.com/s/1e6nHkq69TvUQe5VE02V-eg?pwd=1234
- HuggingFace download: https://huggingface.co/mortimerme/repocollect/resolve/main/omnivoice-0528.7z?download=true
Start
- Download the
.7zfile and extract it - Double-click
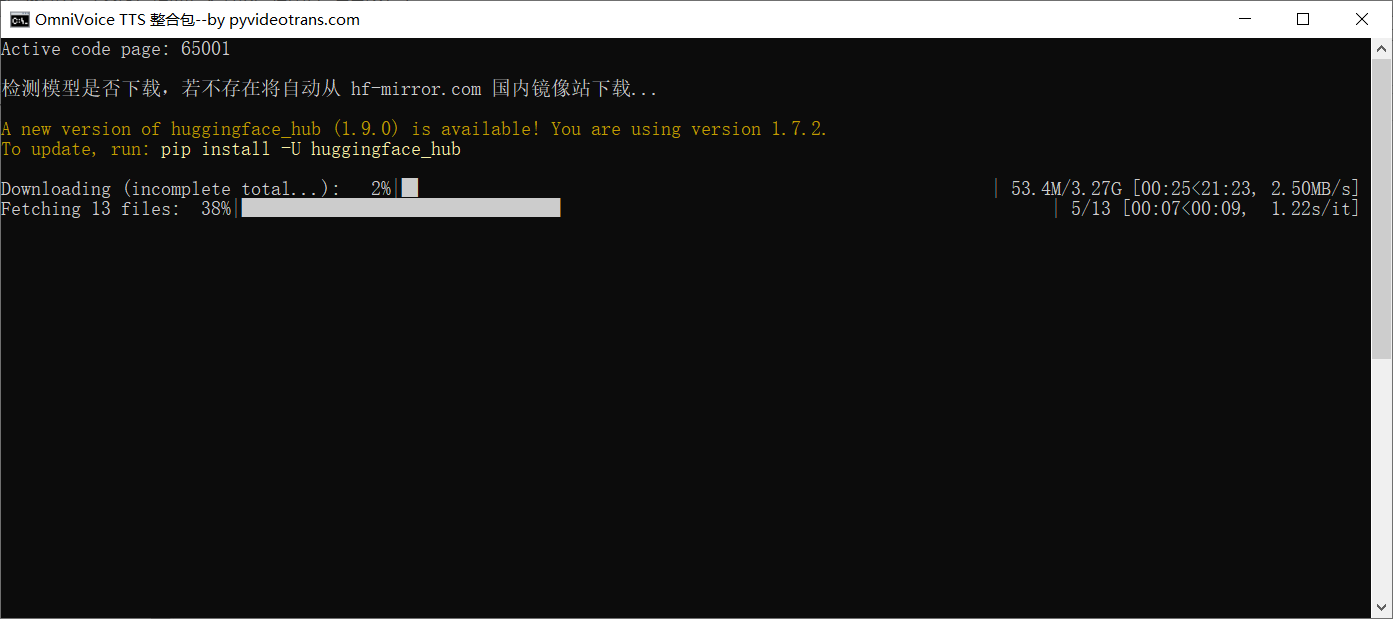
start.bat - Wait for startup to complete — the success indicator is when the following screen appears and stays:

The first launch will download models, defaulting to the China mirror at https://hf-mirror.com.
MacOS/Linux Source Deployment
Step 1: Download Source Code
- Go to the OmniVoice official repository and download the source code
- Click the green
<>Codebutton in the middle of the homepage, then clickDownload ZIP - After extraction, navigate to the folder containing
pyproject.toml(usually insideOmniVoice-master)
Step 2: Install uv
Open a terminal and run:
curl -LsSf https://astral.sh/uv/install.sh | shWindows users: Download the uv archive, extract it, and place
uv.exealongsidepyproject.toml.
Step 3: Install Dependencies
Open a terminal in the folder containing pyproject.toml and run:
uv syncStep 4: Configure Model Download Mirror
The model hosting site huggingface.co may not be accessible directly. Set a mirror:
Windows:
set HF_ENDPOINT=https://hf-mirror.comMacOS/Linux:
export HF_ENDPOINT=https://hf-mirror.comStep 5: Start the Server
uv run omnivoice-demo --ip 0.0.0.0 --port 8081Using in pyVideoTrans
Configuration Steps
- Open pyVideoTrans
- Go to Menu → TTS Settings → OmniVoice-URL
- Enter the address:
http://127.0.0.1:8081 - Fill in the reference audio and corresponding text in the character list below
Reference Audio Format
audio_filename.wav#text corresponding to the audioExample: If you have an audio file nverguo.wav (a clean recording of the Queen of Women speaking), place it in the f5-tts folder under pyVideoTrans, then enter in the settings:
nverguo.wav#Enter the speech text here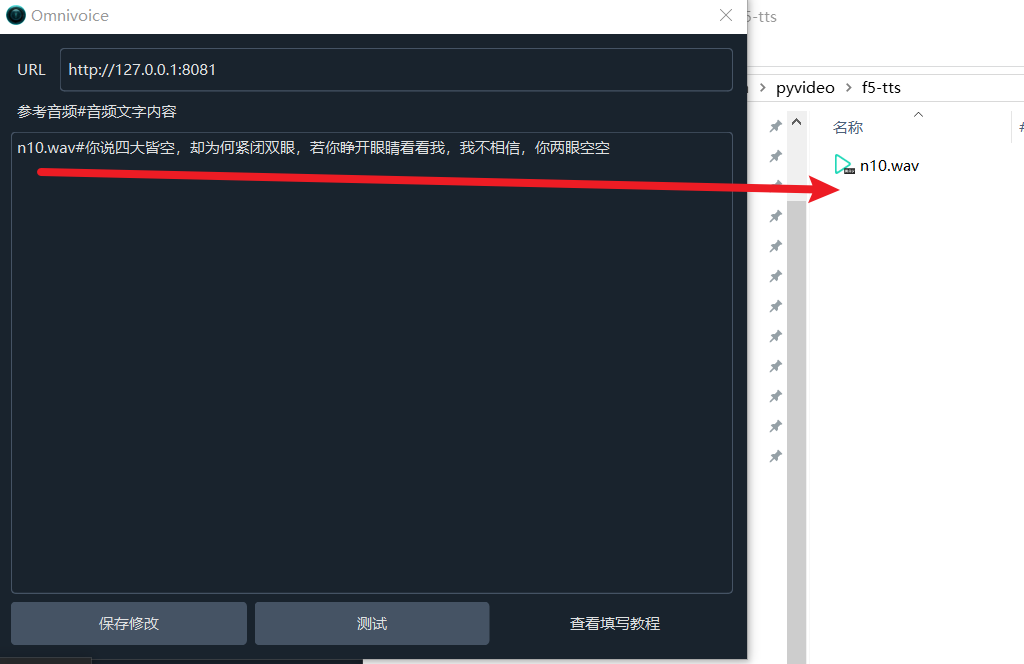
- Click "Test" — if it shows OK, click Save, and you're ready to use it
Using on Google Colab
You can also use it directly on Colab by opening this link:
- Click "Run All" at the top
- Wait for a URL like
https://xxxxxxxx.gradio.liveto appear in the bottom cell - Click to open it in your browser
- Copy this address to pyVideoTrans Menu → TTS Settings → OmniVoice-URL
Reference Audio Requirements
| Item | Requirement |
|---|---|
| Format | WAV (recommended) |
| Duration | 3–10 seconds (ideal) |
| Content | Clear pronunciation, no background noise |
| Location | f5-tts folder under pyVideoTrans root directory |
Source code verification (
_omnivoice.py): OmniVoice uses the/_clone_fnGradio API endpoint, supports 60+ language code mappings, and has a built-in retry mechanism (tenacity). It also supports OmniVoice-Studio (port 3900) using the REST API/generateendpoint.
Troubleshooting
1. Can't see pyproject.toml after source deployment?
After extraction, you'll see an OmniVoice-master folder. Open it to find pyproject.toml or pyproject — all operations should be done inside this folder.
2. Error: uv is not recognized as an internal or external command?
uv is not installed or not in your system PATH. Windows users: download the uv archive, extract it, and copy uv.exe to the same directory as pyproject.toml. Other systems: run the install command directly.
3. Model download is slow or fails?
Models are downloaded from huggingface.co, which may not be accessible directly. Set the model mirror:
Windows:
set HF_ENDPOINT=https://hf-mirror.comMacOS/Linux:
export HF_ENDPOINT=https://hf-mirror.com4. uv sync fails?
Module installation defaults to downloading from overseas sources. Use the Alibaba mirror:
uv sync --default-index "https://mirrors.aliyun.com/pypi/simple"5. Still failing with the Alibaba mirror?
You may be missing the MSVC environment. Install it following this guide.
6. How to use OmniVoice directly in the browser?
After startup, open http://127.0.0.1:8081 in your browser.
7. How to change the startup port and model mirror in the package?
Open start.bat with a text editor:
- To disable the China mirror, remove the line
set "HF_ENDPOINT=https://hf-mirror.com" - To change the port, modify the
8081inset "PORT=8081"to your desired port