If you're looking for a completely free, locally-run, and top-performing speech-to-subtitle tool, you've come to the right place.
This tutorial will guide you step-by-step through the entire setup process. It's very simple, and even computer novices can handle it easily. Let's get started!
Part 1: Preparations (Skip this part if you already have uv and ffmpeg)
Before we begin, we need to invite two "little helpers" to your computer: uv and ffmpeg. Don't worry, it's easy!
Step 1: Install uv
uv is like a smart butler. It helps us automatically handle all the complex program configurations; we just need a simple command.
Download Link: Windows users, please download
uvhere:https://github.com/astral-sh/uv/releases/download/0.9.8/uv-x86_64-pc-windows-msvc.zipInstructions:
- After downloading, extract the
uv-x86_64-pc-windows-msvc.ziparchive. You'll see files likeuv.exe. - Now, we need to place this "butler" where the system can always find it. Open any folder on your computer, clear the existing path in the address bar at the top, then type
%userprofile%\.local\binand press Enter.
- Copy and paste all the files you just extracted (including
uv.exe) into this newly opened folder.
- After downloading, extract the
Tip: This step is to let the computer "remember" where
uvis, so we can use it directly from anywhere in the future!(If you are a Mac user, it's even simpler. Just run
wget -qO- https://astral.sh/uv/install.sh | shin the terminal.)
Step 2: Install ffmpeg
ffmpeg is a versatile tool for processing audio and video. Our program needs it to read any audio or video files you upload.
Download Link: Windows users, please download
ffmpeghere:https://www.gyan.dev/ffmpeg/builds/ffmpeg-release-full.7zInstructions:
- After downloading, extract the
ffmpeg-release-full.7zarchive. - Enter the extracted folder (name similar to
ffmpeg-x.x.x-full_build), and find thebinfolder inside. - In the
binfolder, you'll see anffmpeg.exefile. Copy it. - Paste this
ffmpeg.exefile into the same folder where we storeduv.exeearlier (i.e., the%userprofile%\.local\binfolder).
- After downloading, extract the
(If you are a Mac user, it's also simple. Run
brew install ffmpegin the terminal.)
What if uv or ffmpeg is still not found?
Open a new cmd window and type
uv. If it says not found, it means%userprofile%/.local/binis not in the environment variables.
Click the "Start Menu" in the bottom left corner, find "Command Prompt", right-click --> More ---> Run as administrator. Paste this command and press Enter to execute:
reg add "HKCU\Environment" /v Path /t REG_EXPAND_SZ /d "%PATH%;%USERPROFILE%\.local\bin" /f
Excellent! The most crucial preparations are complete. You only need to install these two tools once, and you won't have to worry about them again.
Part 2: Download the Program and Model
Now, let's download the transcription tool itself.
Step 1: Download the Main Program
Download Link:
https://pyvideotrans.com/stt.7z(approx. 600KB)Instructions:
- Click the link above to download the
stt.7zarchive. - Extract it to a location you prefer, such as the desktop. After extraction, you'll get a folder named
models, and filesapp.pyandindex.html.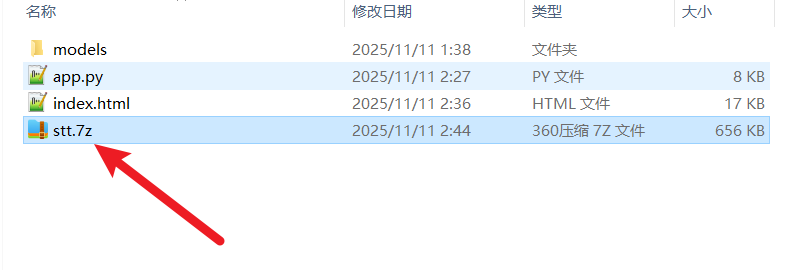
- Click the link above to download the
Step 2: Download the Core Model
The model is the "brain" of this tool, responsible for recognizing speech.
- Download Model (Inside China):
https://hf-mirror.com/dropbox-dash/faster-whisper-large-v3-turbo/resolve/main/model.bin?download=true - Download Model (Outside China):
https://huggingface.co/dropbox-dash/faster-whisper-large-v3-turbo/resolve/main/model.bin?download=true - Instructions:
- Click the link to download the
model.binfile (file size 1.6G, please be patient). - After downloading, move it into the program folder we just extracted. The specific path is: enter the program folder -> enter the
modelsfolder -> enter theturbofolder, then place themodel.bininside thisturbofolder.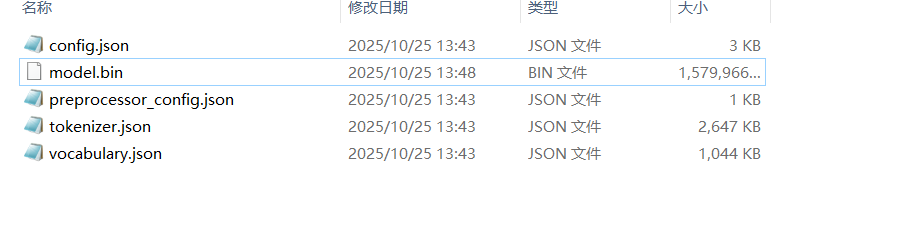
- Click the link to download the
Part 3: Launch and Use
Open the program folder we extracted earlier.
In the address bar at the top of the folder, clear all content, type
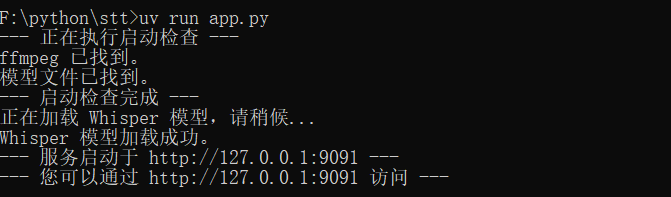
cmd, and press Enter. This will open a black command window.In the black window, type the following command and press Enter:
uv run app.py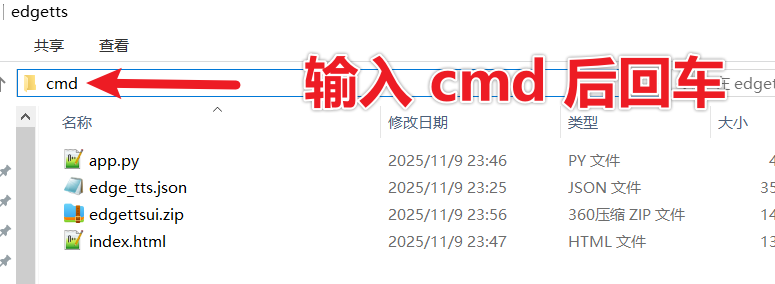
Wait a moment. When the window displays information similar to the following, it means the service has started successfully!
Simultaneously, your default browser will automatically open a new page. This is the interface of our speech transcription tool!
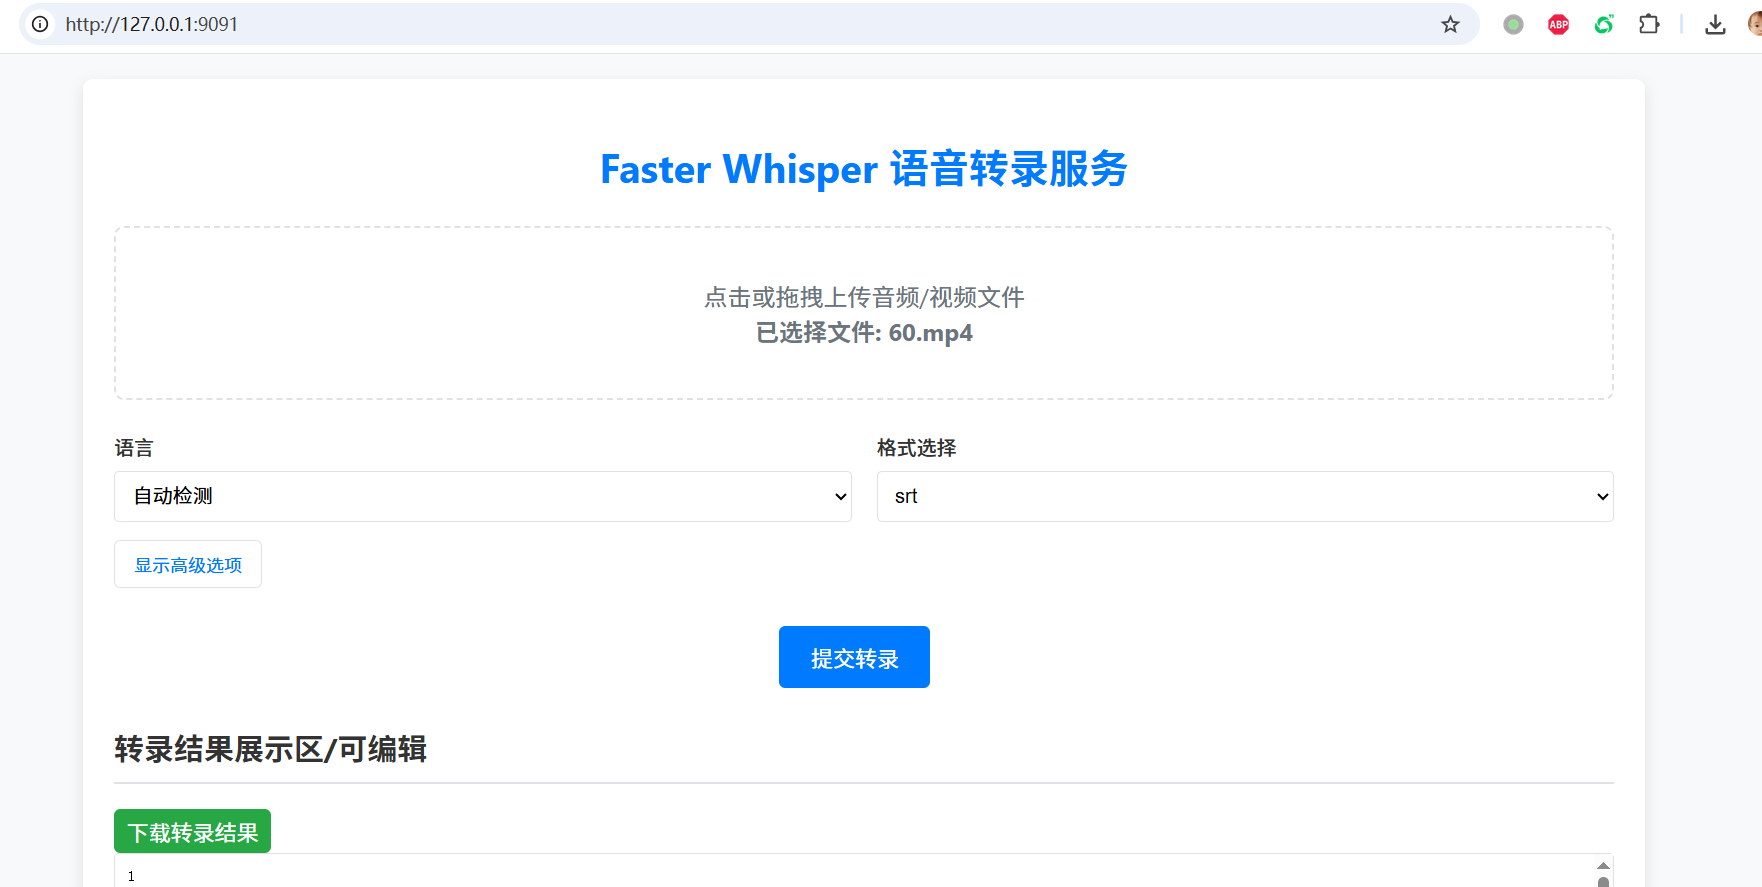
Now, you can click or drag your audio/video files onto it, adjust parameters, and then click "Submit Transcription" to experience it! Enjoy!